|
|
|
|
|
|
|
|
|
|
|
|
|
||
|
|
|
|
|||||||||||
|
|
|
||||||||||||
|
|
|||||||||||||
| Drawing Gears - page 5 |
 |
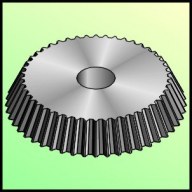
To render: Choose the lighting tool in the Extrude Roll Up. Set light 1 at the front right top corner 100% Set light 2 at the front right center mark 50% Set light 3 at the front right bottom mark 50% and Apply. Separate the Extrude Group (Arrange Menu) and choose the top fill. Choose the Fountain Fill (F11) - Conical and use the following settings: Angle - 30.0 Degrees, Custom with these settings: Position 0 = 40% Gray, Position 25 = 10% Gray, Position 50 = 40% Gray, Position 75 = 10% Gray, Position 100 = 40% Gray. Un-Group everything and delete all of the objects in the center hole except for the largest one, apply a custom Radial fill to achieve the result shown. |
 |
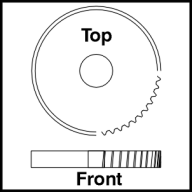
Engineering drawing of a 48 tooth helical gear. |
 |
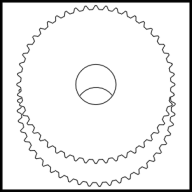
Back in the old drawing board days very few illustrators would bother drawing a helical gear. With CorelDRAW it is tedious but if the project warrants the effort here is how to do it. Get the copy of the gear you saved for the Spur Gear. Fill it with White. Since the offset for the teeth is -5 degrees perform a -5 degree rotation to a duplicate and move the dupe down and send it to the back (Ctrl+Page Down). |
Home,
About, Contact,
FAQ, Shop,
Products, Services,
Learn, Tips
and Tricks, Tools
© 1997 - 2001 John M. Morris