|
|
|
|
|
|
|
|
|
|
|
|
|
||
|
|
|
|
|||||||||||
|
|
|
||||||||||||
|
|
|||||||||||||
| Trimming Objects - page 3 |
 |
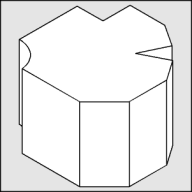
Use the Extrude Tool (Ctrl+E) to apply an extrusion with the following settings: back parallel, VP locked to object, object center, Horizontal 0, Vertical -1.30. If the result is too deep or shallow adjust the vertical dimension until it looks right. |
 |
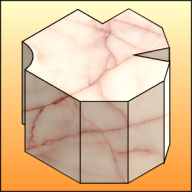
To render: Trace over the outside of the block with the straight line pencil tool and Snap to Objects on. Move the tracing off to the side, send it to the back (Shift+Page Down) and import a bitmap fill. I used a marble tile from the CorelDRAW 7 CD #2. Adjust the size of the bitmap to fit and then Power Clip it into the shape. Go back to the Extrude Group, separate and un-group it. Switch to wire-frame (Shift+F9) view and use the trim command to trim out all overlapping parts. Switch back to normal view (Shift+F9) and with Snap to Objects on move the Power Clip back into position. Now use the Brighten Lens to apply the following: Top = 20, Far Left = -20, Left = -15, Center = -10, Right = none [Delete the object], Mid Right = 25, Notch = -5. Note; If you have an extra face on the right add another lens and adjust the brightening to compensate. |
 |
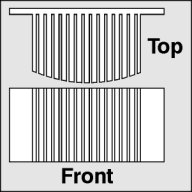
Engineering drawing of a heat sink. |
Home,
About, Contact,
FAQ, Shop,
Products, Services,
Learn, Tips
and Tricks, Tools
© 1997 - 2001 John M. Morris